Installing, Updating, and Managing LaunchBox
Written By AstroBob
Last updated About 1 year ago
LaunchBox is DRM-free, giving you full control over which version you choose to install. Whether you want to stay on the latest cutting-edge betas or maintain a specific version for a dedicated build, upgrading (or downgrading) LaunchBox is straightforward.
This guide will cover everything you need to know about installing, updating, and managing your LaunchBox installation.
Installing LaunchBox
Downloading the Setup File
If you're new to LaunchBox, you can download it from our official website:
Enter your email address and hit the download button.
A download link for the
setup.exefile will be sent to your email.Run the installer and follow the setup process.
🚨 Important Note 🚨
Even if you’re bringing over an existing LaunchBox build, it’s recommended to run the installer at least once to ensure you have all required dependencies, such as .NET Core 3.1 Runtime, which is essential for LaunchBox to function correctly.
Choosing an Installation Location
During installation, you’ll be asked to choose where to install LaunchBox. It is highly recommend to Install the main LaunchBox build on an internal SSD for optimal performance. Games and media files can be stored either as part of the main build or on external or network drives and configured later.
Once installation is complete, LaunchBox is ready to use!
Updating LaunchBox
By default, LaunchBox notifies you whenever a new official version is available.
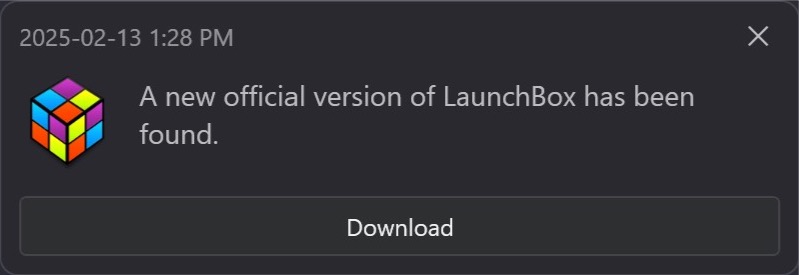
When you launch the application:
A pop-up will indicate a new version is available.
The update will download in the background.
You’ll be prompted to install the update—just follow the wizard to complete the process.
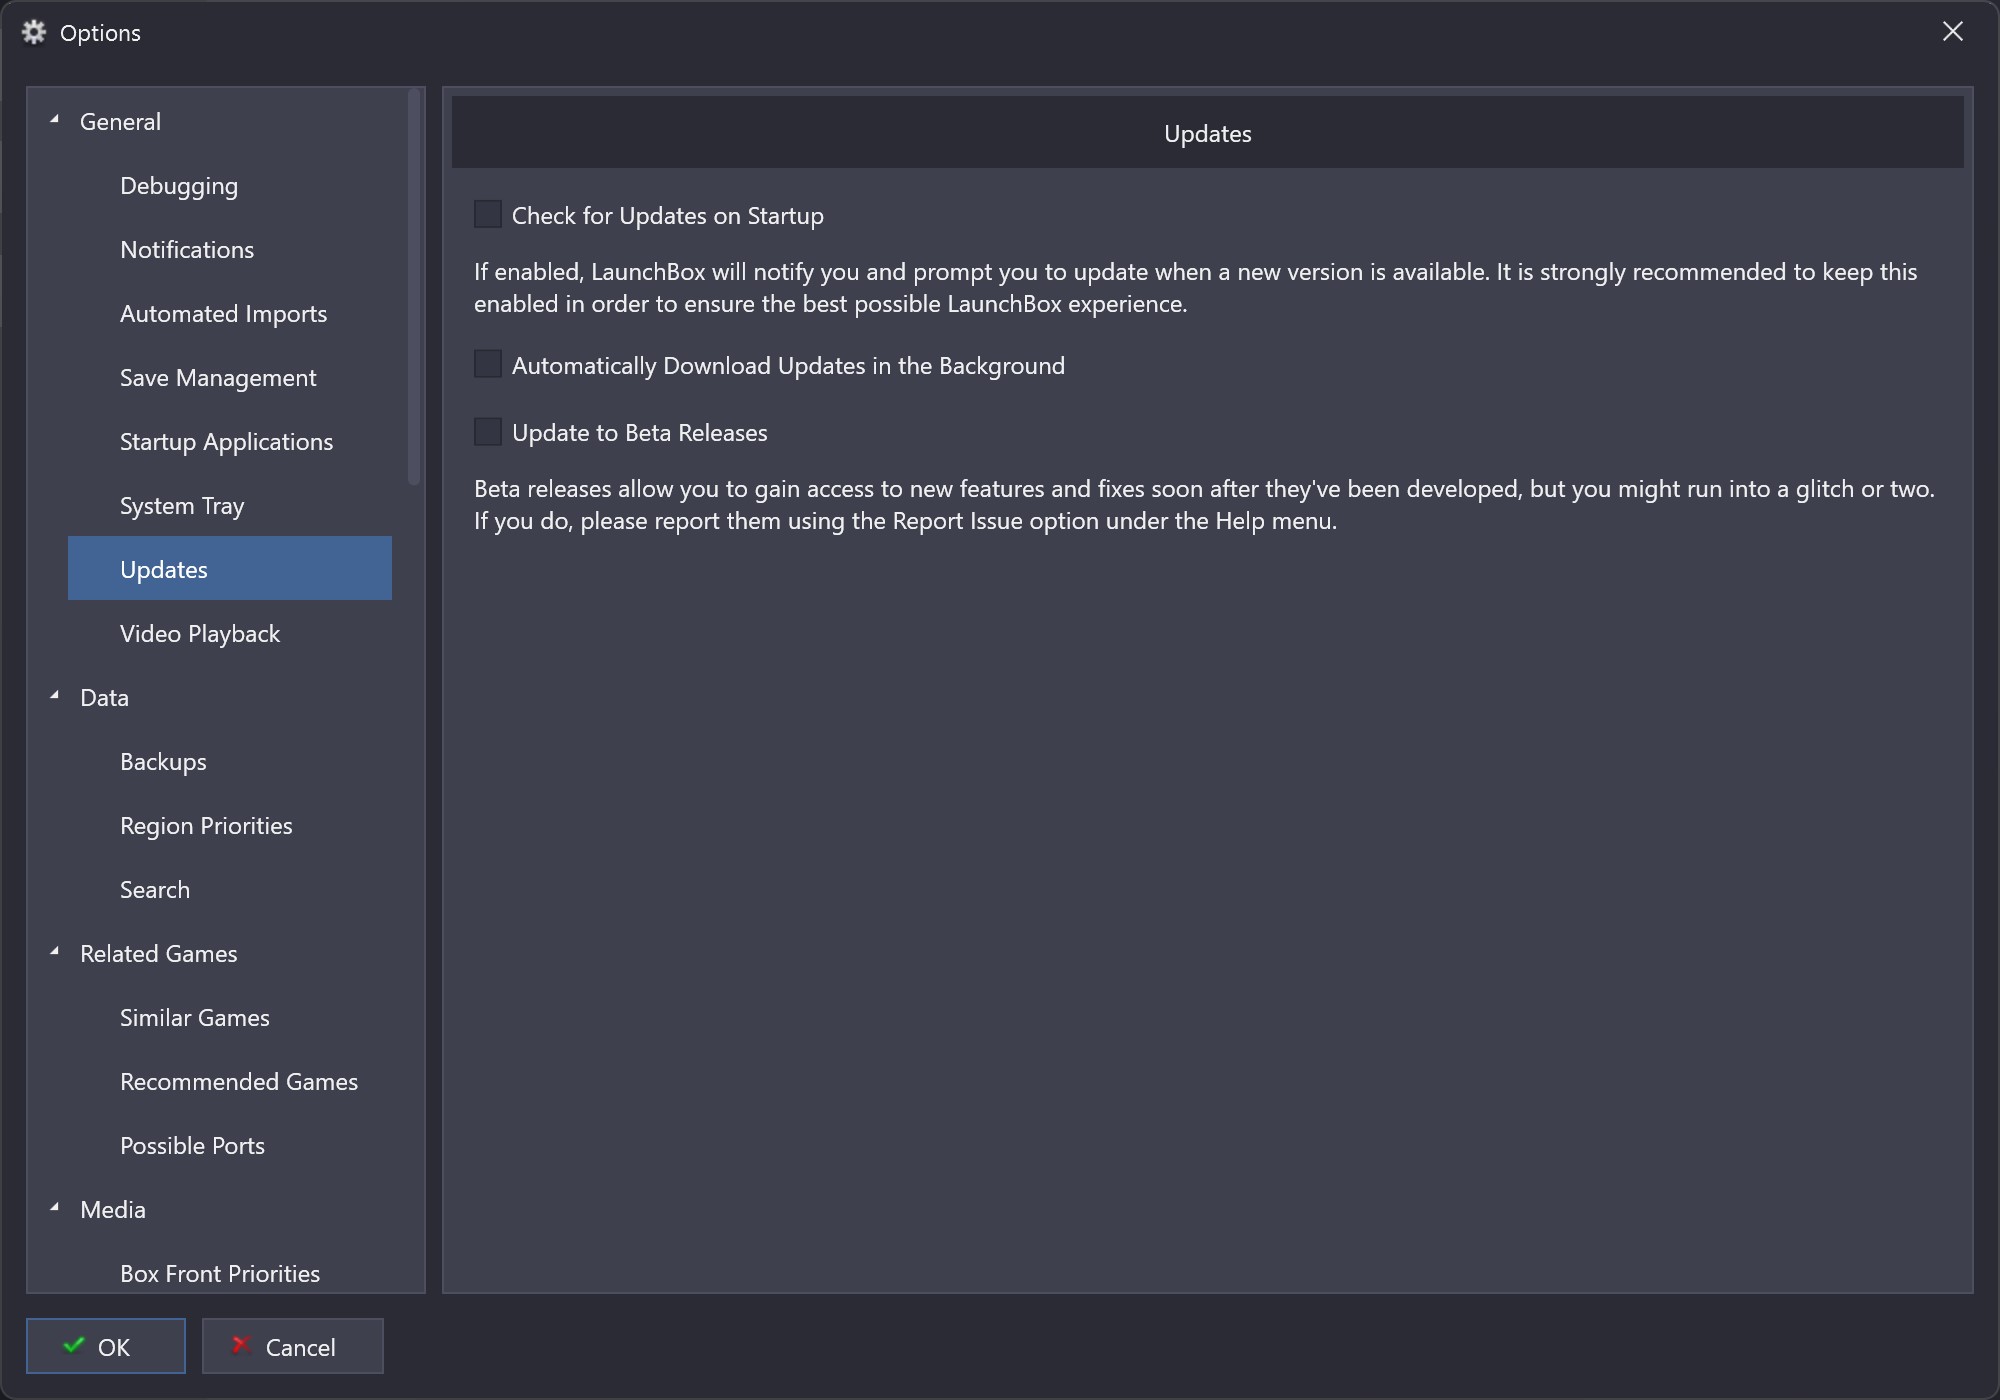
Managing Update Preferences
You can modify update settings under:
Tools > Options > General > Updates
Here, you can:
Disable automatic update checks.
Enable/disable automatic downloads.
Opt into beta releases (see below for details).
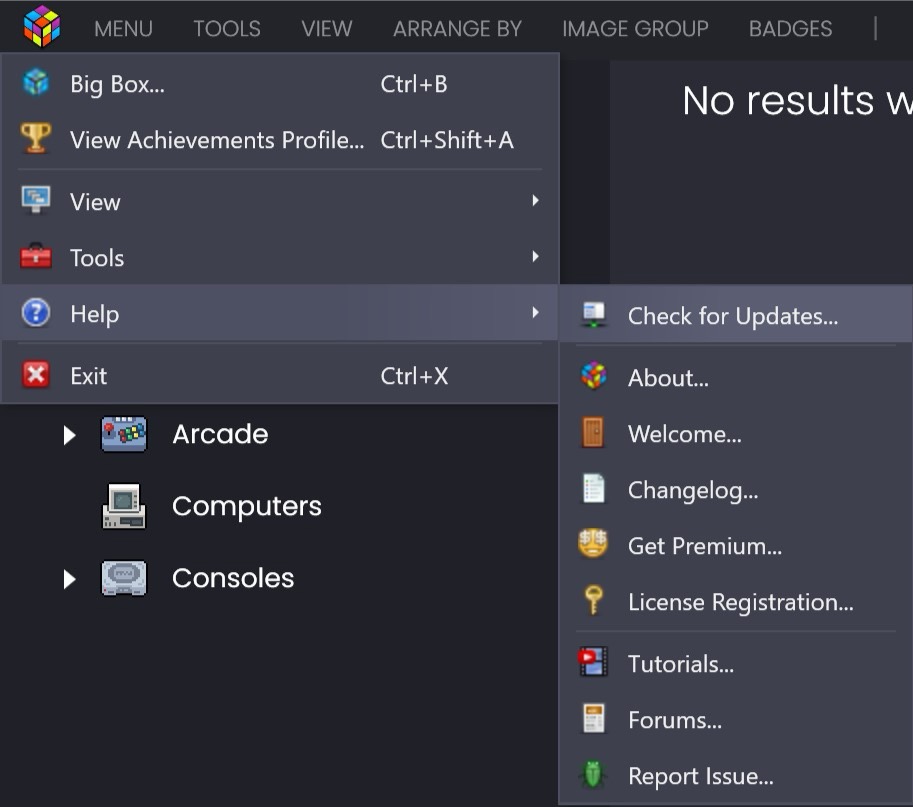
You can also manually check for updates via:
Menu > Help > Check for Updates
Updating to Beta Releases
What Are Beta Releases?
Before every official release, we publish multiple beta versions featuring new features, improvements, and bug fixes. These are released early so the community can test and provide feedback before the final release.
How to Enable Beta Updates
To opt into beta updates:
Go to Tools > Options
Enable Update to Beta Releases
You’ll receive notifications about beta updates just like regular updates
🚨 Important Note 🚨
Beta versions may contain bugs or experimental features.
If you encounter issues, report them in our Beta Testing Forum, including detailed steps to reproduce the issue.
Downgrading LaunchBox
In rare cases, you may need to revert to a previous version of LaunchBox. While downgrading is generally safe, we strongly recommend backing up your data first:
Backup your data:
Go to Tools > File Management > Create Data Backup
Find your previous version installer:
Each version you install (official or beta) is saved in
LaunchBox\Updates
Run the installer for the version you want to downgrade to.
🚨 IMPORTANT: Selecting the Correct Directory
At the stage where you’re asked to choose which directory to install LaunchBox to:
DO NOT select the existing
LaunchBoxfolder directly.Instead, choose the root folder where
LaunchBoxis located.Example: If your LaunchBox directory is in
C:\Games\LaunchBox, selectC:\Games, allowing the installer to append\LaunchBoxautomatically.Incorrect path example: If you choose the existing LaunchBox directory, you’ll get a path that looks like this
C:\Games\LaunchBox\LaunchBox🚨 WARNING 🚨
If you do this, the setup wizard will install a new instance inside your existing one 😱 This is the cause of many LaunchBox issues down the line, so avoid this at all costs!
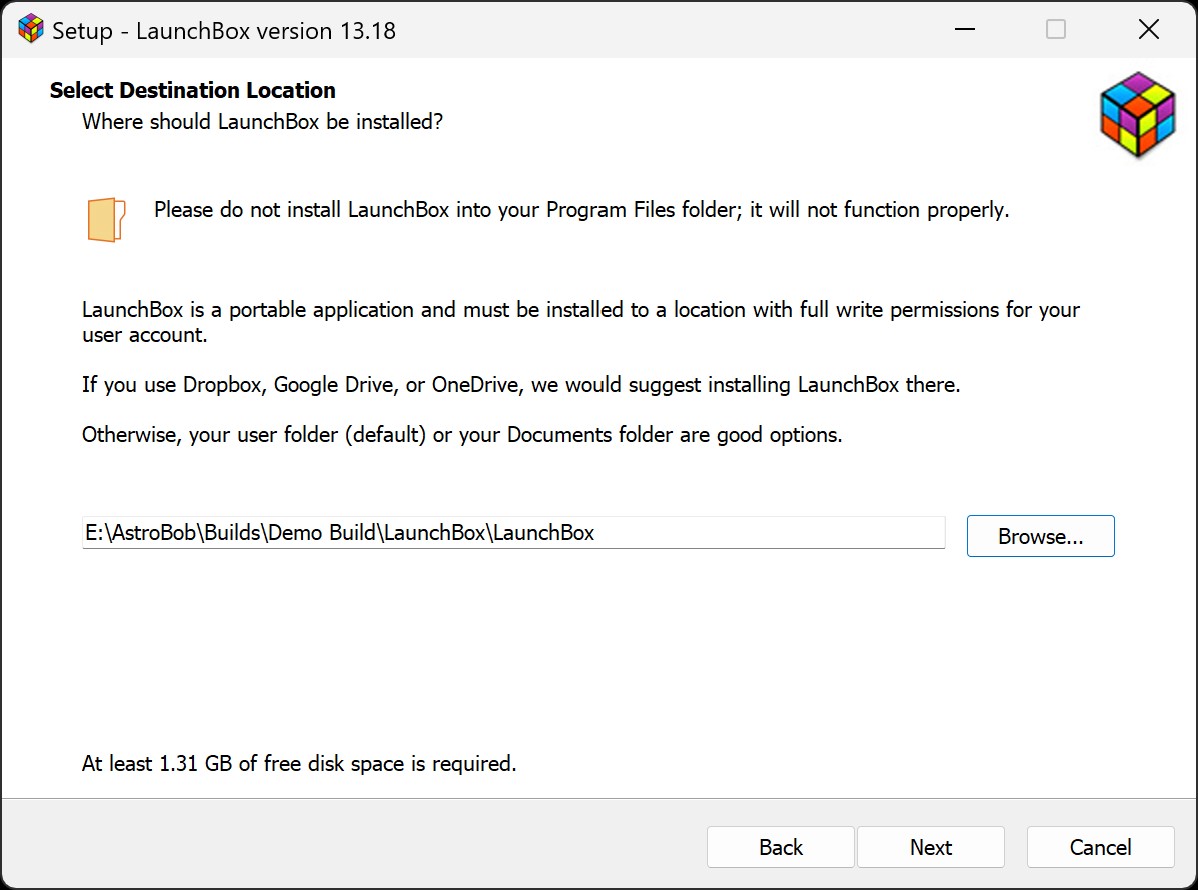
⬆️ Can you see the problem here? DO NOT do this!
With that in mind, follow the setup wizard to complete the downgrade.
Reinstalling LaunchBox
Reinstalling the same version is rarely needed but can help if certain files become corrupted, or you have been instructed to do so by our support team
Follow the same steps as downgrading but select the same version installer as your current build.
🚨 Ensure you select the correct installation path (see above).
💡 Tip:
While a full history of installers is saved in LaunchBox\Updates, you can safely delete older installers if not needed. For more housekeeping tips, check our FAQ on managing LaunchBox.
For upgrading, downgrading and re-installing, your data files should be intact. Just take note of where the install directory is when downgrading or re-installing.
By following this guide, you’ll be able to confidently install, update, downgrade, or reinstall LaunchBox while maintaining a smooth experience.
Happy gaming! 🎮